Page 5 of 9

Fly Fishing for Garrick and Grunter in the Western Cape

Saltwater Fly Fishing can be very challenging and in some areas of the South African coast and even more so if you are a newcomer to the game. Local knowledge is probably one of the most important aspects of saltwater fly fishing as finding fish is the key to success. You can have the best equipment and even have the know-how, but if you aren’t casting your fly where the fish are then you are just going to get sun burnt with nothing to show for it. Most of us predominantly target fresh water species on fly as we reside inland, and we only get the opportunity to target saltwater species over the December holidays, but there are a fortunate few of us that get to chafe in the salt on a regular basis.

There are also other factors to consider before taking on the salty stuff, like tides and lunar cycles to name a couple, and even if all the planets line up and you are wearing your lucky cap, that might not be enough to persuade a fish to eat your fly.
DSC_0158.jpg

Weeks are usually spent in advance of the holiday to tie flies and familiarize yourself with saltwater species, productive spots and tactics. Magazines are read, videos are watched and online fly fishing forums are a buzz of questions and advice. In my opinion the best way to tackle an unfamiliar territory or species on fly (fresh or saltwater) is to make use of a professional guide’s services. This will save you time, money and a lot of frustration. It is also very healthy for the fly fishing industry as it insures that some people can make a living whilst pursuing their (and our) passion.

GAFF headed to the Garden Route of South Africa over the December holidays where we met up with Henkie Altena from Flydotfish. We booked his services for a day of guiding on the Swartvlei estuary in Sedgefield, in hope of catching some Garrick (Leervis) and Grunter. Henkie is a full time professional fly fishing guide and the owner of Flydotfish . Some of the species and destinations on offer include Tigerfish in Botswana, estuarine species in the Garden Route as well as Yellowfish in the Gouritz River only to mention a few.

We made use of 9ft 8wt and 9wt TFO BVK rods and Shilton SL5 and SL6 reels, all loaded with floating lines. We agreed that the 8wt is better suited as a general estuary rod whereas the 9wt would have its advantages over the 8wt when casting big flies for big fish in the surf. We made use of 9ft 15lbs non tapered fluorocarbon leaders for targeting Garrick and we used a non-slip mono loop knot for our leader to fly connections. A loop knot enables the fly’s natural movement which could just be what is needed to trigger the fish to eat your fly.
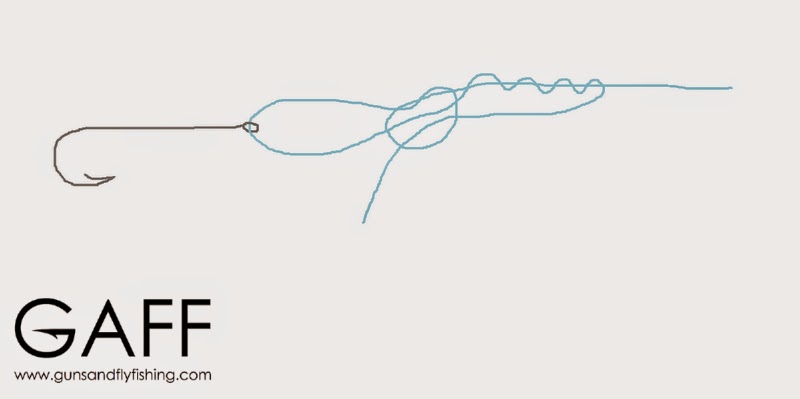
Non Slip mono knot.jpg

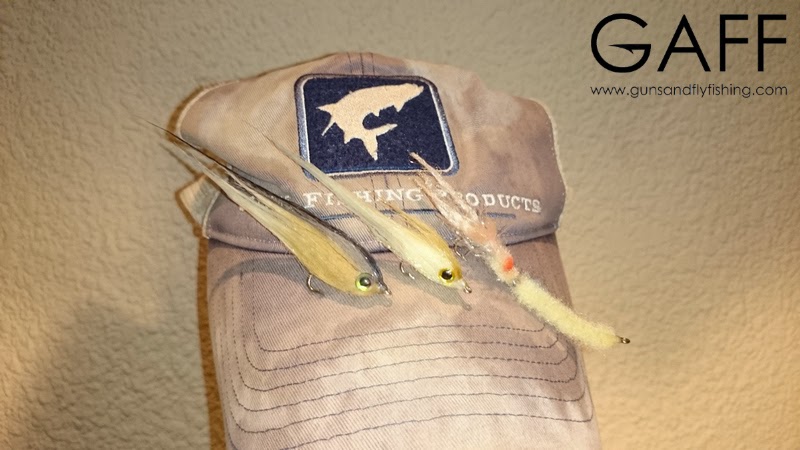
Henkie is not just a great guide but also a brilliant fly tier and he brought us some of his favourite patterns for targeting Garrick and Grunter in Swartvlei. Two baitfish imitations and one sandprawn imitation made up our arsenal for the day as well as ‘n foam popper. Garrick love foam poppers and Henkie makes use of a loose popper head or Garrick which can be put in front of any fly, making it a very versatile addition to your flybox.

We started the day by casting foam popper heads in front of craft-fur baitfish imitations, a combination which soon yielded some positive results. We were fishing a deep drop off on a pushing tide in hope of catching some Garrick patrolling the sudden change in depth for mullet and other baitfish. Emile got into a nice Garrick and shortly after that Stephan lost a big fish estimated at 70 cm plus. I had a couple chases from some Garrick but no commitment to eat the fly.
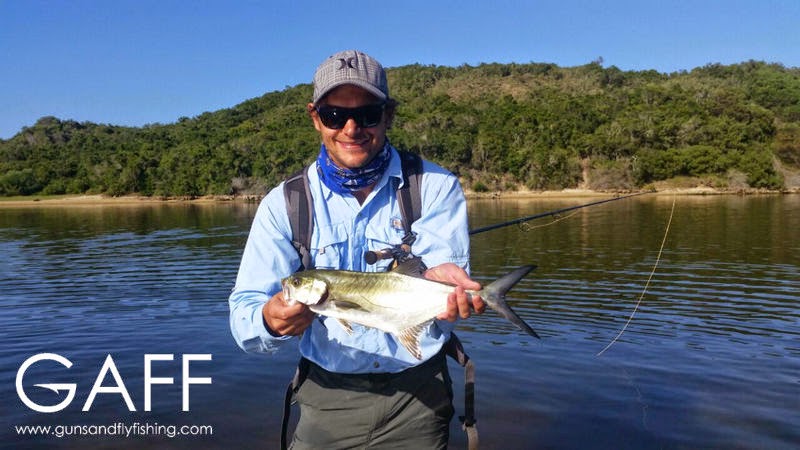
IMG-20141216-WA0000.jpg

Things became quiet and we headed for the flats. We changed patterns to our sand prawn imitations which very accurately mimic the sand prawn’s natural movements in the water by means of incorporating articulation in the fly. Henkie has put a lot of thought into the pattern and it has produced some exceptional fish of late.

Unfortunately the wind started to pick up radically which made it rather challenging for us to put in accurate casts to the tailing Grunter. Despite the wind we had a couple of opportunities to cast to the feeding Grunter but our offerings were rejected by our wary adversaries.

Grunter are known to be one of the most difficult fish species to be caught on fly and even if your fly is well presented the chances are good that it will be rejected. This just makes it even more rewarding when you finally get to catch one on fly.
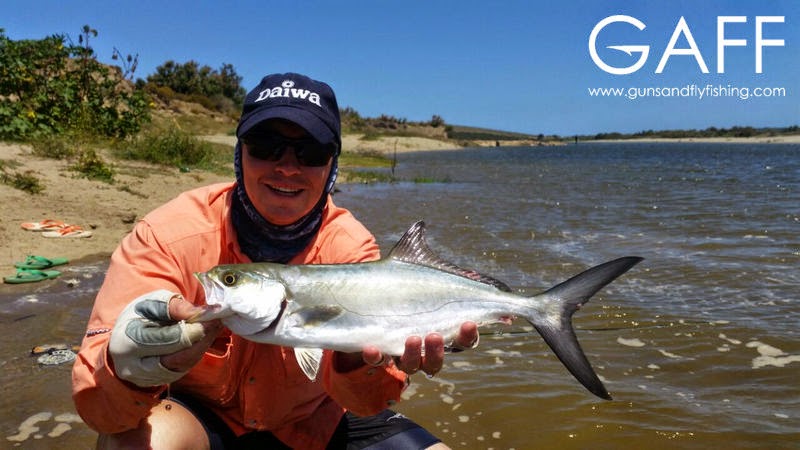
Stephan Leerie.jpg

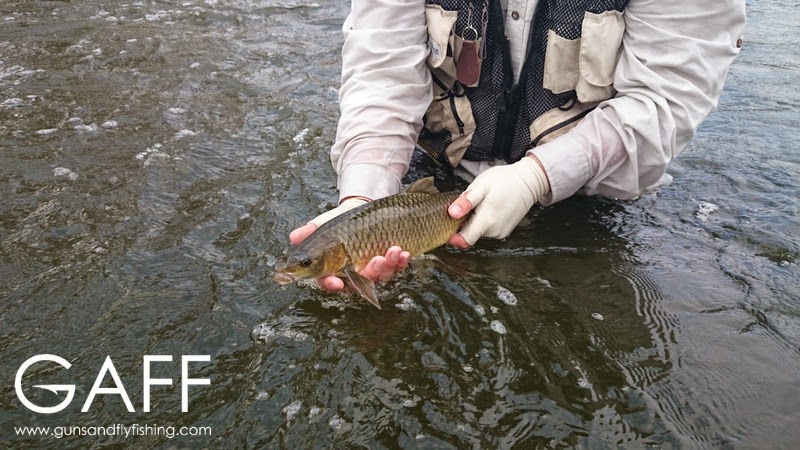
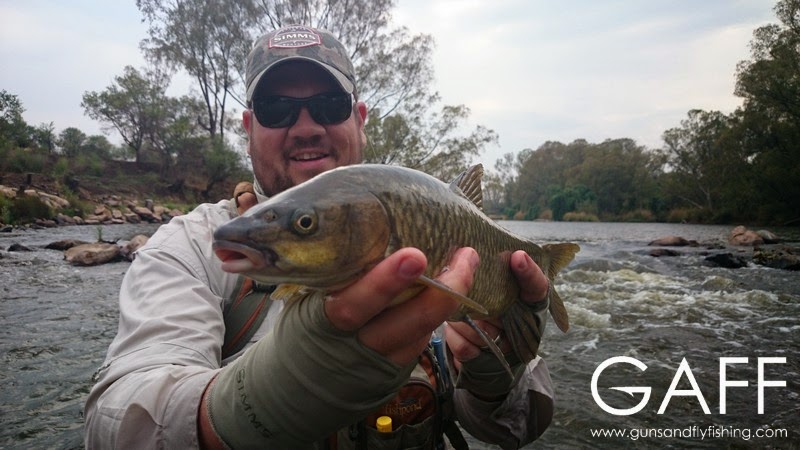
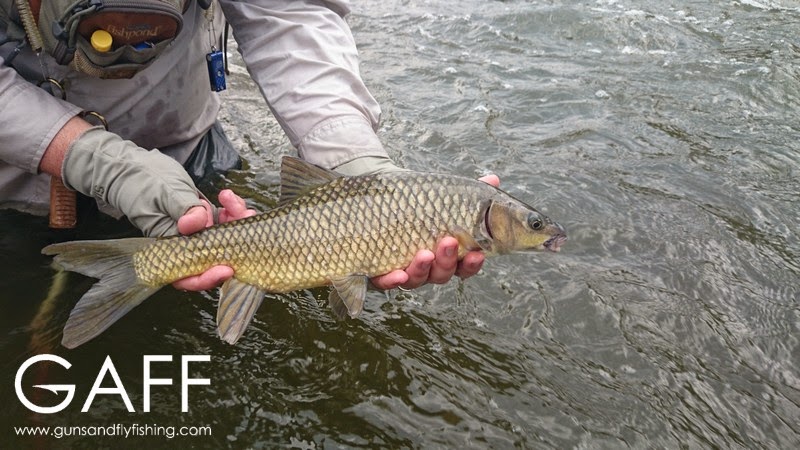
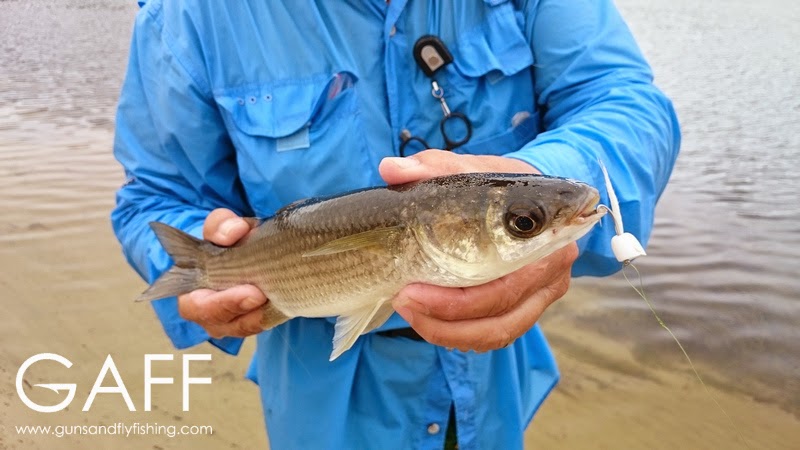
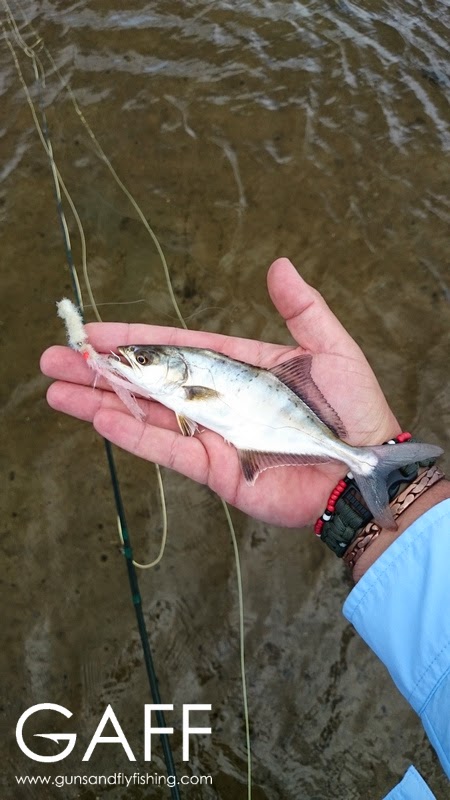
A couple of days later Stephan and Emile went to the Gouritz river mouth and I revisited the Swartvlei estuary in Sedgefield, but this time I was accompanied by Richard Simpkins from Urban Fly Fishers. The rain was pouring down and we only managed to land a Mullet and a little Garrick, but we still had some good fun. Stephan and Emile however had a good day on the water at Gouritz and they had some decent Garrick to show for their effort.
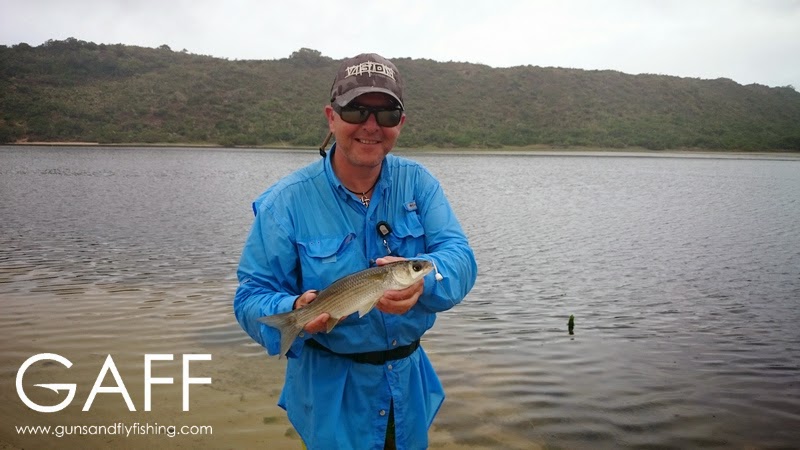
DSC_0107.jpg DSC_0109.jpg DSC_0116.jpg

To summarize, we really had a good time targeting Garrick and Grunter on fly over the holidays and we will definitely be back to target some of the bigger fish sometime in the near future. So, if you are also keen on targeting some saltwater and estuarine species on fly in the Garden Route area, feel free to contact and book with Henkie Altena from Flydotfish, you will not be disappointed.
DSC_0057.jpg

*Please note that all fish that were caught were safely released again.

© 2015 Guns and Fly Fishing. All Rights Reserved.
Nymphing on the Vaal River

Most people will argue that Sunday is their favourite day of the week. You get to spend time with your family, indulge in a big lunch and the best part of the day is having an afternoon nap on the couch in front of the TV.

Or you could go fly fishing, which is what we usually do on Sundays.

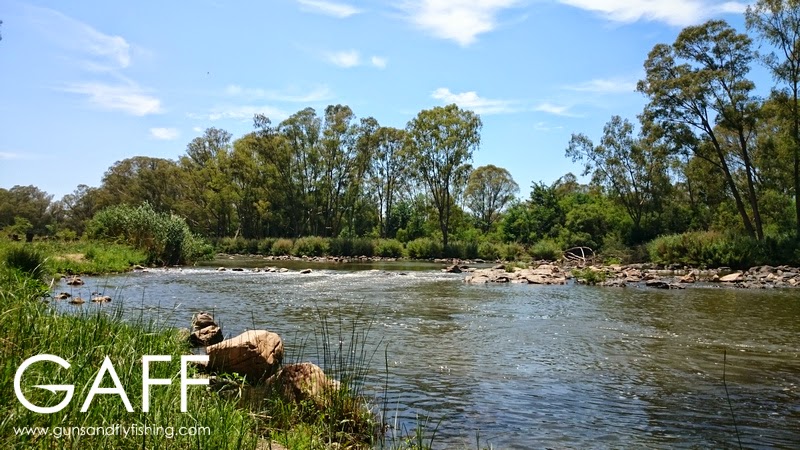
We headed to one of our favourite Yellowfish spots for what would be our official last trip to the Vaal river of 2014. The rest of the year will be spent at the coast fly fishing for Garrick, Grunter and other estuarine species, but more about that later…

DSC_0295.jpg

We arrived at our spot on the Vaal river just after sunrise and there was a substantial Caddis hatch in progress which got us fairly excited.

Another reason that had us eager to hit the water was that we wanted to test our new 10ft 5 & 6wt TFO BVK nymphing rods on the resident Vaal river Yellowfish (expect a review sometime in the near future).

DSC_0291.jpg

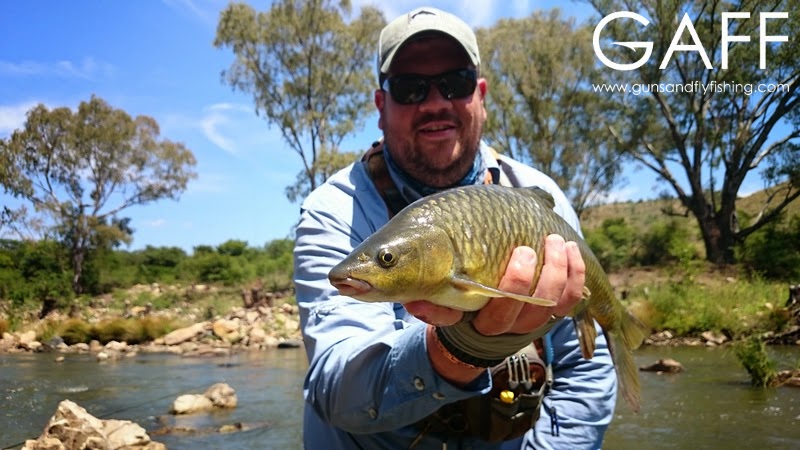
To sum it up, we had a very productive morning and we ended our 2014 Vaal season on a high note. We caught all our fish on nymphing leader setups, with Frenchies and GUNS being the most productive flies of the day.

Here is a short video of our sunday session:

© 2014 Guns and Fly Fishing. All Rights Reserved.
10 Tips for Trophy Photos

They say a picture paints a thousand words, and that is indeed very true. Taking photos is a way of immortalizing the present and taking our memories into the future with us, either for ourselves to reminisce about our past sometime in the future or to share our memories of certain events with others. In general these memories can make us happy, can make us laugh or they can just be special to look at.

But it goes the other way as well. Badly taken photos can interpret a memory in a negative way. What might have been an amazing moment in your life at the time of taking the photo could now look mediocre and just because of how the photograph portrays the memory. Now this might sound like a lot of mumbo jumbo, but I’m getting to something here…

IMG_9114.jpg

Imagine that you are going on a Safari to the dark continent (if you have not done so already). You save your hard earned cash and book a hunt with a reputable outfitter. Depending on the target species an duration of the Safari it will probably not be a cheap exercise, but worth every cent.

To cut a long story short, you get to Africa and you have an amazing time, you get to hunt all your intended species (if you are lucky) and after the whole shebang you go back home, wherever that might be…

Then it is time for one of my favourite things to do after a hunting trip and that is looking at all the photos! There is however nothing as disappointing as going through the photos and coming across bad quality or badly taken photos. Even worse is if the blotched photos are the ones taken of your 60” Kudu bull that you worked so hard for. Thanks Murphy…
Now you can only edit a photo that much before it starts to look even worse than its original state, and some photos unfortunately cannot be edited to look better.

IMG_7181.jpg

Now please note that I am as close to being a professional photographer as I am from being a Ballet dancer, but here are some tips for taking good quality trophy photos.

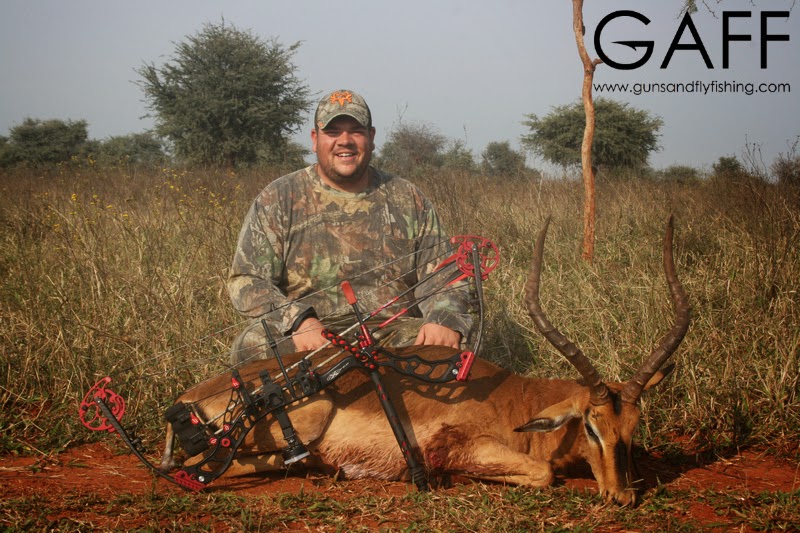
1. When you are photographing a trophy animal, get down on your gut. Get the hunter to sit down directly behind the animal and get in nice and close, but on your stomach.

2. Make sure that you don’t cut out the hunter’s head or any part of the animal for that matter. Leave an even space around the object that you are taking a photo off.

3. Focus on the animal. Taking a photo of an animal is in a way also paying respect toward it. The focus should always be on the animal and not on the hunter.

IMG_6974.jpg

4. Check the light. Bad light or too much of it can ruin a photo. Check the position of the sun as well and use the camera’s flash if needs be in low light conditions.

5. Clean any blood off the animal. Most professional hunters will have a bottle of water for this cause; alternatively you can use sand or dirt to clean as much blood off the animal as possible. And remember to treat the animal with respect, even if it is deceased.

Rooibok Ram 22.jpg

6. Don’t just take one or two photos, take many. Rather take too many photos that too little. You might take 10 photos and only one of them will look good, so rather be safe than sorry.

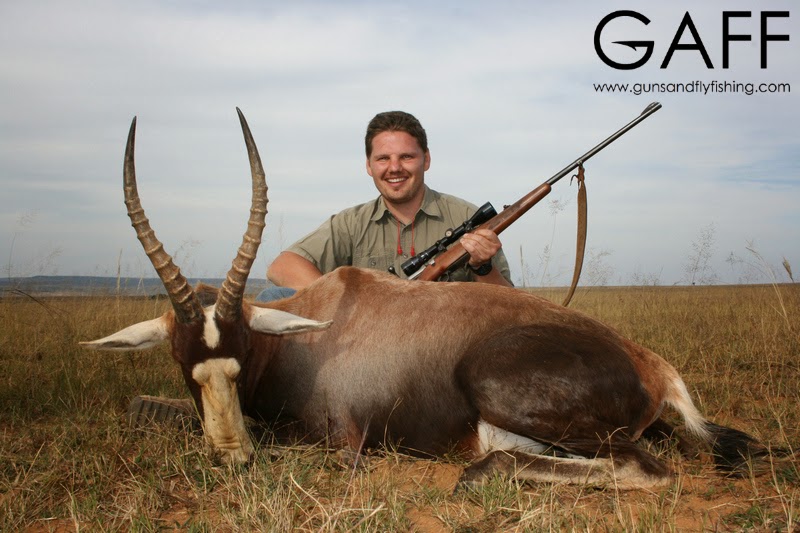
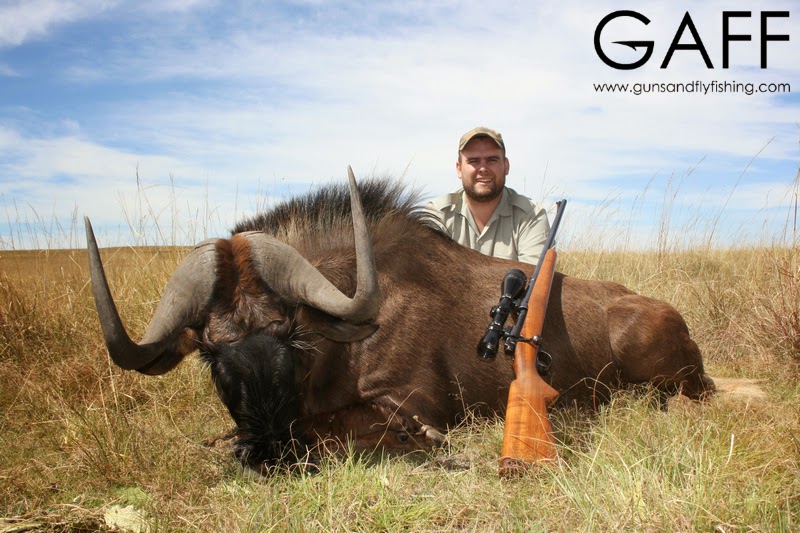
7. If you hunted an animal with horns, try to get the horns in front of some blue sky or a neutral background. This will accentuate the horns and it will create a nice contrast against the background.

SWB Bul 1.jpg

8. Remove any grass or objects in front of the animal’s body before taking the photo.

9. Make sure your camera’s lens is clean. Even if you make use of a lens cap there could be some dust on your lens that could blur your photos. Use a lens pen or camera cloth to clean the lens before taking photos in the bush.

10. Position the animal in a neat and respectful manner. Don’t take photos in front of an animal that looks like it feel out of the sky. Prop it up in a natural manner and use a stick to position the head vertically if needs be.

Wallpaper 2.jpg

So there you have it, if you were not familiar with all of these techniques then I hope they will work for you. As you could see, these tips are more relevant to the person taking the photos (the PH mostly) but if you see that the person taking your trophy photos is struggling then at least you will be able to assist him/her then in making your trophy photos more memorable.

© 2014 Guns and Fly Fishing. All Rights Reserved.
Catch and Release – 10 Do’s and Don’ts

As fly fishermen we have a responsibility toward our quarry to ensure that they are handled in an ethical manner to ensure their chance of survival. If you handle a fish with dry hands, keep it out of the water for a long time and put it down on in the dirt etc. then it is pointless to practice catch and release as the fish will probably end up dying anyway.

If you do keep a catch or two for the pot then it is a different story, and one to which you are entitled to (depending on the species and relevant province’s legislature) but still I believe that the fish should be treated with respect until such a time then when it is then administered a coup de grâce.

Here are 10 important techniques to remember when practicing catch and release:

1. Always handle a fish with wet hands. If you handle a fish with dry hands you damage the protective layer of slime that it has on it’s skin. This will cause either permanent damage to the fish or death.

DSC_0156.jpg

2. A fish should only be kept out of the water for as long as you can hold your breath. Imagine holding your head under water for as long as the fish is out of the water, not so much fun is it? Some people even say 5 seconds out of the water is too long but the best practice is to not even take the fish out of the water at all.

3. Fish barbless hooks. There is no reason not to fish barbless hooks. Barbless hooks ensure that the fish is released quick and easy and it causes far less damage to the fish’s mouth than barbed hooks. If you have shop bought flies tied on barbed hooks, then use a set of pliers or forceps and pinch down the barb.

4. Use a proper catch and release net. If you have to use a net to land the fish make sure that it has a soft mesh without any knots (even better are the rubber mesh nets). An improper net could damage a fish’s eyes or the protective layer of slime that it has on it’s skin, which could result either permanent damage to the fish or it’s death. The best net is no net at all. To unhook the fish whilst it is still in the water is the best method by far.

5. Never place the fish in the dirt, grass or on the rocks. This is not condoned and for obvious reasons as mentioned above.

DSC_0453.jpg

6. Don’t fool around when fighting the fish. Try to land the fish as soon as possible. The quicker you land the fish the stronger it will be when you release it.

7. Never throw a fish back into the water. You will damage the fish’s internal organs which could cause either permanent damage or death.

8. Revive the fish completely. When releasing the fish don’t let it go until it swims away by itself. Assist the fish by keeping it upright and letting the water pass through it’s gills (in a river keep the fish’s head upstream against the current). Don’t move the fish back and forward, the fish can breathe by itself. You will feel when it is strong enough to swim off on it’s own. Remember, the quicker you land it, and the quicker you can get it back in the water the quicker it will swim of again.

IMG_7552.jpg

9. Don’t be under gunned when going fishing. There is no point to be proved by going after Largemouth Yellowfish with a 3wt rod. You will just cause unnecessary fatigue to the fish which will decrease is chances of survival. Use recommended tackle relevant to the fish species.

10. Never lift a fish by it’s jaw or gills. This will most definitely injure or kill the fish. Also make sure to support the fish adequately when lifting the fish out of the water (but don’t squeeze it). Support it by placing one hand under the region of the Pectoral fin and the other between the Tail fin and the Anal fin.

IMG_8684.jpg

© 2014 Guns and Fly Fishing. All Rights Reserved.

Smallmouth Yellowfish on the Vaal River

Not too long ago I was invited by a friend of mine to fish one of his “secret spots” that he has on the Vaal river. He mentioned that he was the only person with access to this specific stretch of the Vaal river and that we would be the only people fishing the spot. This was something that particularly excited me, as the Vaal can get quite crowded these days as it is the closest and biggest fly fishing destination to Gauteng and it’s fly fishing enthusiasts.

DSC_0424.jpg

We left Pretoria early on Saturday and arrived at our location just before 07:00 am. The weather did not look very promising and with rain and wind forecast for the day we prepared ourselves for a miserable day on the water. None the less, we didn’t drive all that way for nothing so we got into the cold Vaal river and started nymphing.

DSC_0450.jpg

With my 3rd cast I was into a very big fish which was only the beginning of what turned out to be one of my best days ever on the Vaal. The fish took a mustard Caddis pattern that I tie on a #8 Knapek jig and which I used as my anchor/dropper fly to reach the bottom of the river.

DSC_0453.jpg

Shortly after that Emile and Stephan (who’s spot it is) was also into fish, and we then knew that it was going to be good day on the water! Another friend of mine, Edu then caught his first Yellowfish on fly which was a memorable occasion for him.

DSC_0475.jpg

DSC_0480.jpg

The technique that proved the most effective for me on the day was with a European nymphing leader setup as per George Daniel’s Dynamic Nymphing book, but with a modification of my own.

Euro Leader Setup.jpg

I start off with a 9ft 1X Tapered leader to which I connect a 40cm  piece of sighter material with a blood knot or triple surgeon’s knot. To that I connect a tippet ring (if available) or alternatively I make a perfection loop at the end of the sighter material to which I then connect 4 feet of 4X also with a perfection loop. The loop to loop connection ensures that the sighter material lasts a bit longer, but the tippet ring method is definitely my preferred way of doing it.

DSC_0486.jpg

What is nice about the #8 Knapek jig hook is that is has a big eye to which I tie my point fly. This ensures that the dropper fly is left open (which increases takes) as there is no line connected to the hook shank as with the conventional NZ style. I have found this method to be very effective, but everyone has their own preference.What I like about it is that it’s stronger and faster to tie than the competition style 2 and 3 fly rigs (for me anyway) where you tie the flies onto tags created by making Surgeon’s knots.

DSC_0491.jpg

We finished the day with 36 fish caught, a figure which exceeded our expectations, considering that the weather chased us back to the city after only about 4 hours on the water. We did lose a number of fish, two of which was estimated at over 4kg’s. This only gives us more reason to return to this remote and amazing piece of the Vaal river.

© 2014 Guns and Fly Fishing. All Rights Reserved.
« Older posts Newer posts »

© 2026 Guns and Fly Fishing. All Rights Reserved.
Theme by Anders NorenModified by RooiWillie