Page 9 of 9

DIY J-Vice Base

Not too long ago, I made one of the best decisions thus far in my fly fishing/fly tying career and I ordered myself a J-Vice from Jay Smith in Pinetown South Africa. Jay (an engineer) is the mastermind behind the J-Vice, which is in my honest opinion the best fly tying vice available today. I got the new Salmon Head GooseNeck J-Vice machined from white Ertalyte together with a set of standard jaws, midge jaws and a waste basket amongst some other J-Vice accessories. http://www.jvice.com/

The standard bases for the J-Vice are made from imported American Oakand bases can also be custom made by Jay from any available commercial hardwood. Jay has made bases from Kiaat, Panga Panga, Hard Pear, African Rosewood and various other African Hardwoods.

I however decided to make my own base, as I thought that it would give my J-Vice setup a personal touch, and also I could make a base that suits my own needs and style. I was inspired by Mario Geldenhuys who builds fine custom fly rods, nets and vice bases. www.customflyrods.co.za

I used two pieces of 200mm x 400mm x 20mm Wallnut timber for my base, which I got from a local hardware and timber merchant.

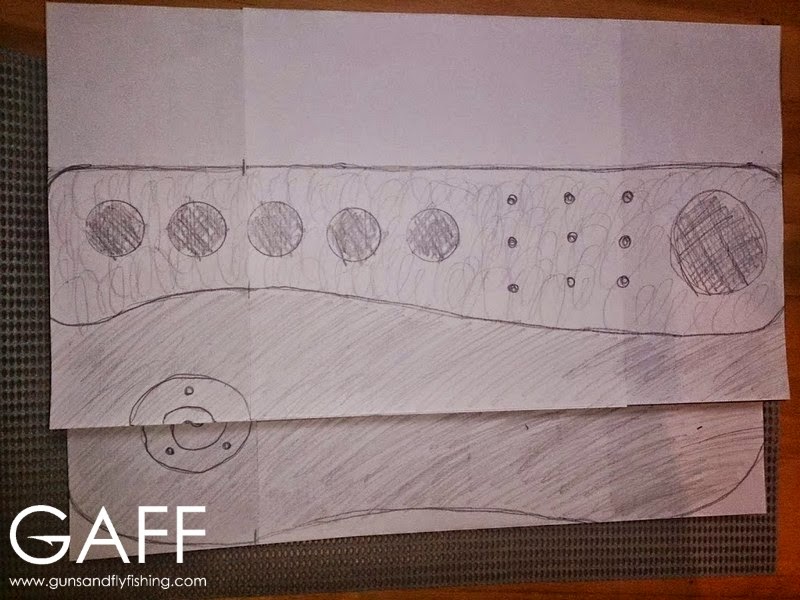
I started off by tracing the outline of the base’s shape with pencil onto paper, after which I stuck it onto the timber.
DSC_0036.jpg

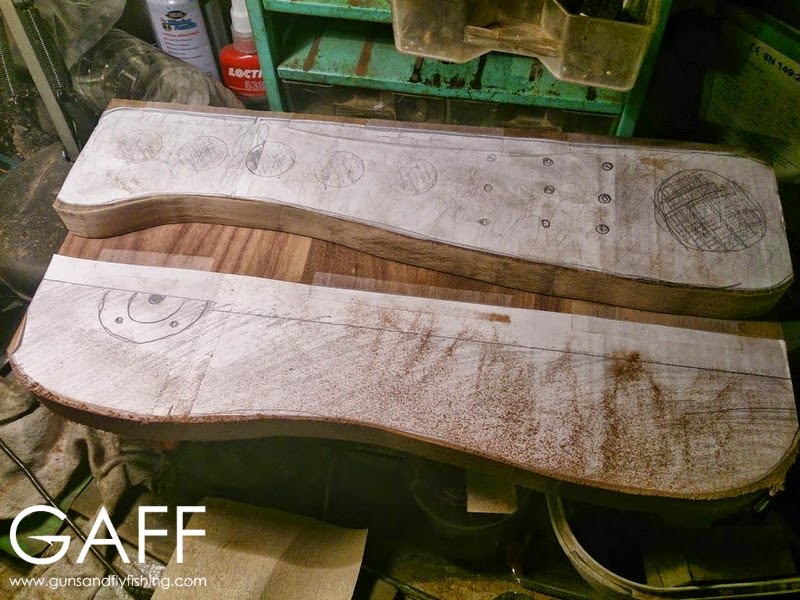
I then cut the shapes out and drilled out the holes that I wanted for my fly tying tools. The base has two levels, which then had to be glued onto each other as shown in the picture below:
DSC_0047.jpg

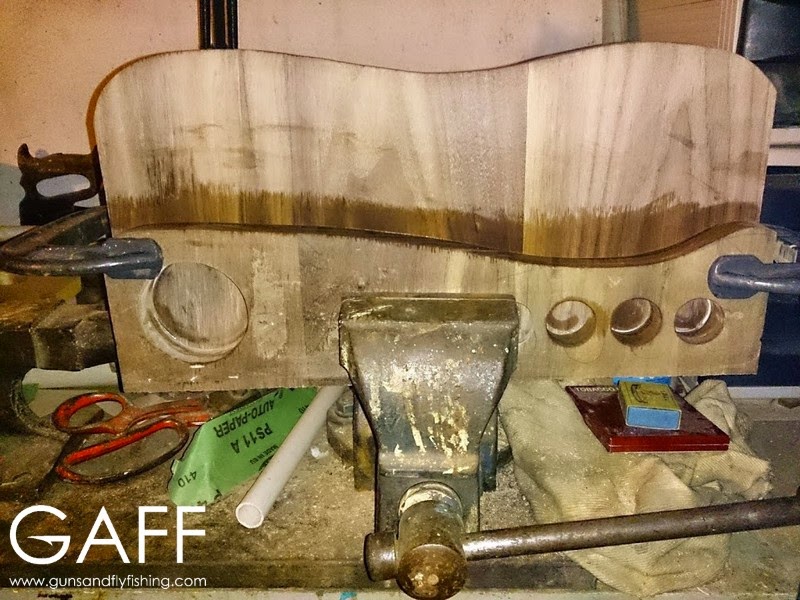
After the glue has set overnight, the most time consuming process of the project starts which is the sanding.
DSC_0048.jpg

I made use of a belt sander which helps a lot with the shaping of the base. After that I took a fine piece of sandpaper and sanded away until I was eventually happy with the base’s appearance.
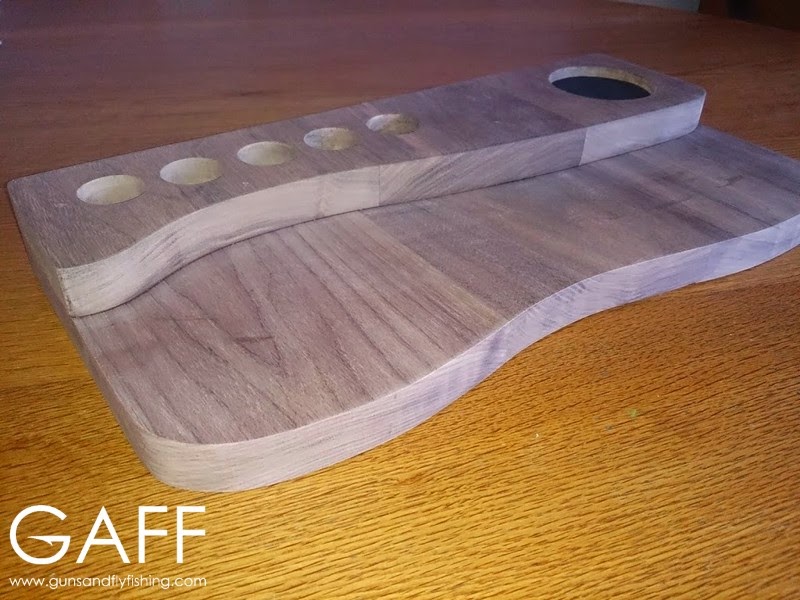
DSC_0053.jpg

I then took Woodoc furniture oil and generously applied it all over the base. I gave it three coatings and after which I put it outside in the sun to absorb all of the oil.

I then cut circles equal to the size of the holes I drilled in the base from a thin foam sheet to place at the bottom of the holes where my nail varnish, tying thread etc. will slot in into the base. After that I mounted the desk mount supplied by Jay onto the base.
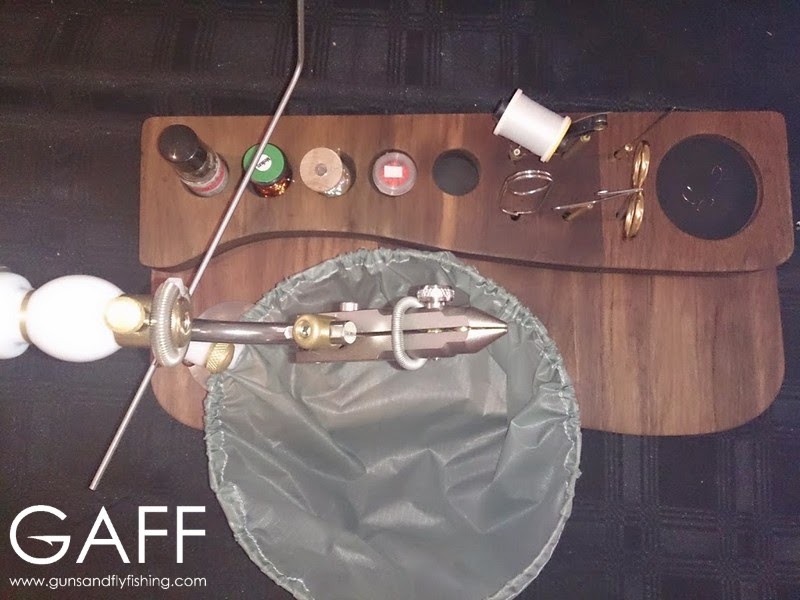
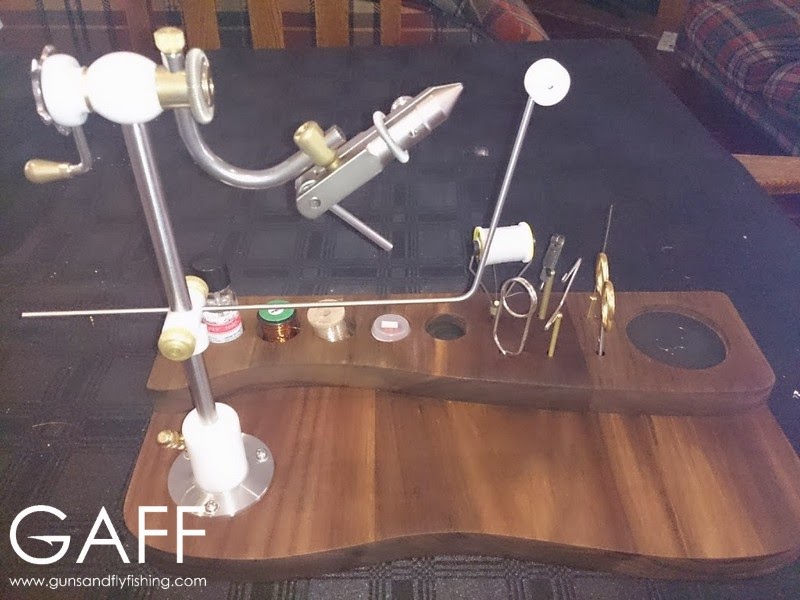
DSC_0056.jpg

DSC_0057.jpg

My J-Vice base was complete! It took me about 12 hours to complete and I was very happy with the outcome of the project. I helps a lot If you have all the tools available to you, luckily a case of beer persuaded my father in law to grant me access to his workshop which has all the tools and machinery required to build an Ark if you should wish to do so.
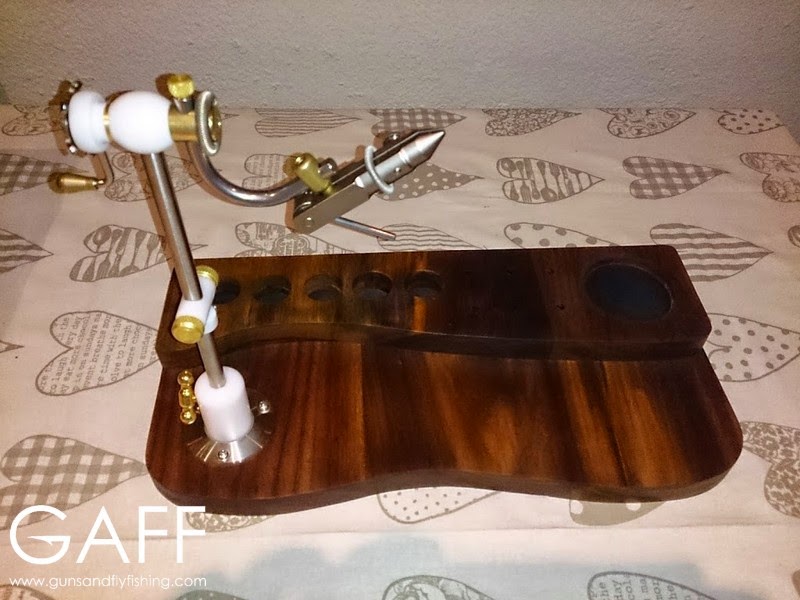
DSC_0067.jpg

© 2013 Guns and Fly Fishing. All Rights Reserved.
Midge Life Cycle

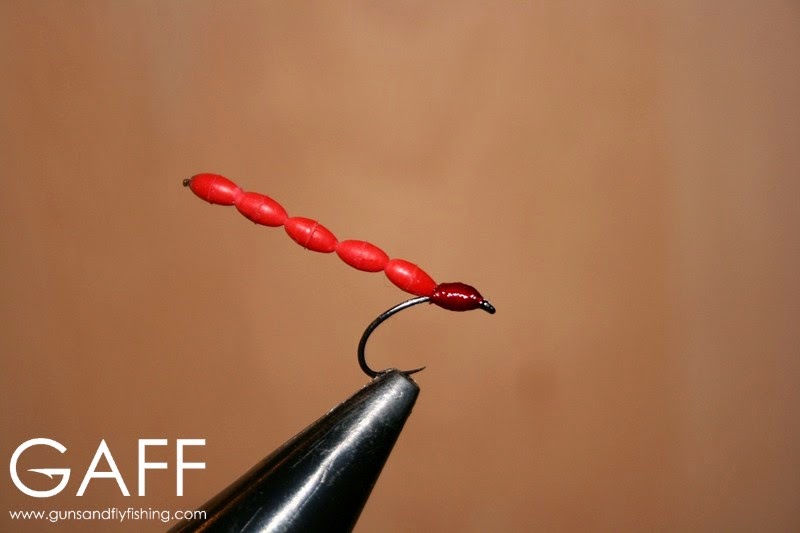
Gummy Worm 
Imitation: Midge Larvae

Materials Used:
Hook: Knapek #14 Scuds/Czech Nymphs
HookBody: Red Gummy Stops and 2X Mono
Thread: Red

Gummy Worm.jpg

Tying sequence:
Step 1: Thread 5 red gummy stops onto a piece of 2X monofilament. Trim the excess mono on one side but leave a 3mm tag end. Burn this piece to melt it and flatten it against the gummy stop. Also leave a short piece of about 10mm at the other end.

Step 2: Lay a thread base of the same length as a gummy stop just behind the eye of the hook.

Step 3: Tie in the 10mm piece of mono behind the eye of the hook. Trim excess monofilament and then form a neat threaded body roughly the same size as a gummy stop.

Step 4: Tie off with 3 half hitches and coat the threaded area with Sally Hansen nail varnish.

How to fish it:
This fly is very versatile as you can fish it on its own, as a dropper under a dry fly or as part of a static nymphing rig. You can also use it as a point fly behind a Papa Roach (as an example) for Trout in stillwaters.


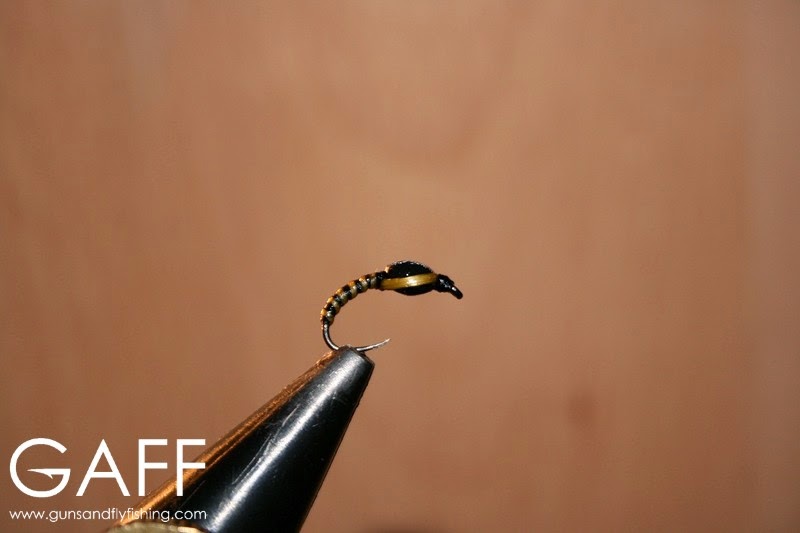
Gummy Buzzer
Imitation: Midge Pupae

Materials Used:
Hook: Knapek #14 Scuds/Czech Nymphs Hook
Abdomen: Black thread
Thorax: Black Gummy Stop
Ribbing: Yellow Flexi Floss
Wings: Yellow Flexi Floss
Wing case: Flash
Thread: Black

Gummy Buzzer.jpg

Tying sequence:
Step 1: Thread one black Gummy Stop onto the hook shank up to the eye of the hook. Leave a 2 mm gap between the Gummy Stop and the eye of the hook.

Step 2: Lay a thread base on the hook shank behind the Gummy Stop and tie in a 5 cm piece of Yellow Flexi Floss. Form a neat and slim profiled abdomen with the thread and then tightly wrap the Yellow Flexi Floss forward over the abdomen to form the ribbing. Tie the tag in and trim the excess.

Step 3: Tie in a 2.5 cm piece of Flash behind the Gummy stop. Then tie in two 2.5 cm pieces of Yellow Flexi Floss at the bottom of the hook behind the Gummy Stop. Tie off with 3 half hitches and trim the excess thread neatly against the body of the fly.

Step 4: Tie in the black thread on the 2 mm section between the eye of the hook and the Gummy Stop. About 5 turns should do it. Then bring the Flash forward over the Gummy Stop and tie in and trim the excess Flash. Next bring the two pieces of Yellow Flexi Floss forward and make sure they line up evenly with each other, then tie them in behind the eye of the hook. Trim all excess materials.

Step 5: Coat the fly with several layers of Sally Hansen nail varnish, making sure that the layers are dry before applying the following coating.

How to fish it:
This fly is very versatile as you can fish it on its own, as a dropper under a dry fly or as part of a static nymphing rig.


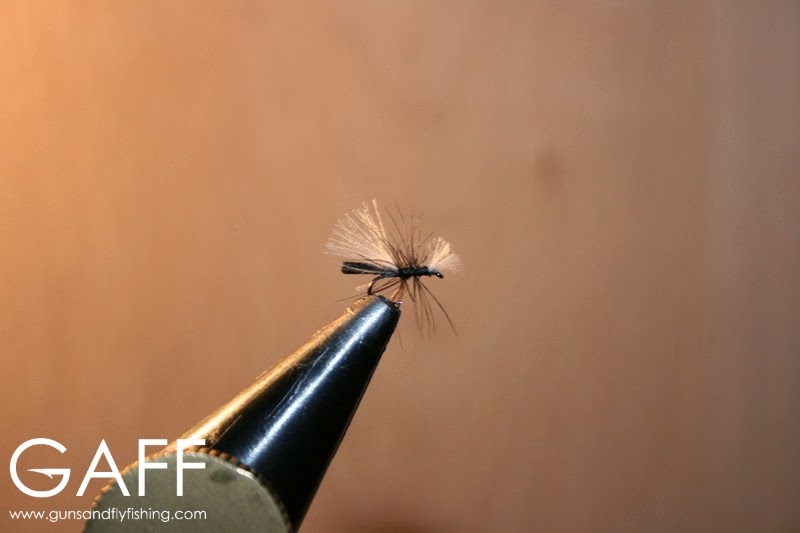
CFC (CDC, Foam & Cock)
Imitation: Midge Adult

Materials Used:
Hook: Grip #18 Dry Fly
Abdomen: Black Foam
Thorax & Legs: Black Cock Feather Hackle
Wings: White CDC
Antennae: White CDC
Thread: Black

CFC - CDC, Foam & Cock.jpg

Tying sequence:
Step 1: Lay one layer of thread on the hook shank. Tie in a 10 mm x 2 mm x 2 mm piece of Black Foam as the extended abdomen at the middle of the hook shank and trim the excess.

Step 2: Tie in a pinch of White CDC (about 10mm long, towards the back of the fly) also in the middle of the hook shank and trim the excess.

Step 3: Tie in a small pinch of White CDC as the feelers in (about 3 mm long, towards the front of the fly) just behind the hook of the eye and trim the excess.

Step 4: Tie in a Black Cock Feather Hackle at the middle of the fly and wrap the Hackle forward to behind the antennae and tie of with 3 half hitches. Apply Sally Hansen nail varnish to the head of the fly with a needle to finish the fly

How to fish it:
Best fished when a hatch is in progress or when fish are rising to the surface. It can also be used to attract a cruising fish with a delicate and accurate cast.


© 2013 Guns and Fly Fishing. All Rights Reserved.
Stealth Infinity 2wt 8ft Rod Review

If you are in the market for a quality yet affordable small stream rod, you are going to have to look far and wide to try and beat Stealth’s 2wt, 4 piece, 8ft Infinity fly rod. Firstly, it’s very easy on the eye. With Nickel reel seat fittings, snake rings, an AAA Grade cork grip and a California wood burl reel seat, it surely can compete quality and looks wise with any of the top selling brands worldwide. Made with Nano-Quartz technology it is very light and strong. It also comes in an aluminium rod tube and a tube sock to protect your investment.

IMG_7401.jpg

Now, personally I prefer my small stream rods to have a sensitive tip, yet preferably it should have enough backbone that should you unexpectedly hook into that big Mooi River Brown, that you would still be able to land the fish without exhausting it. The Infinity does exactly that. It gives you the sensitivity that you require whilst fishing tiny dry flies but has the power in the lower third of the rod’s blank to apply and maintain pressure when needed. It is not too stiff for a small stream rod though, so don’t be afraid that you’ll break off your 7 or 8X tippets, but you have the advantage that when the wind maybe picks up a bit that you will still be able to cast comfortably due to it’s medium to fast
action.

IMG_7618.jpg

The 8ft length certainly has it advantages over the more common 7ft length of 2wt rods. You have the benefits of being able to cast a little bit further when needed, and the extra length really helps when you are high sticking.

IMG_7632.jpg

At the end of the day it all comes down to personal taste. If you are looking for a small stream rod, then go to your local fly fishing pro shop and ask them for a 2wt Stealth Infinity. It’s important to cast it for yourself and then form an opinion.

IMG_7680.jpg

You wouldn’t buy a car without taking it for a test drive, would you?

© 2013 Guns and Fly Fishing. All Rights Reserved.
Field and Streams Review

First of all, either everyone has been keeping this place secret to themselves or not a lot of people have been to Field and Streams yet. Only 9km from Dullstroom, it is a truly beautiful farm, secluded in a kloof between the mountains with breathtaking scenery and an abundance of animal life.

Both fly fisherman and nature enthusiasts will enjoy a weekend away at Field and Streams as they offer a wide array of activities for the whole family on the farm to choose from.

IMG_7430.jpg

Some of the activities include fly fishing, bird watching, walking/hiking, mountain biking, clay pigeon shooting and horse riding nearby.

Accommodation
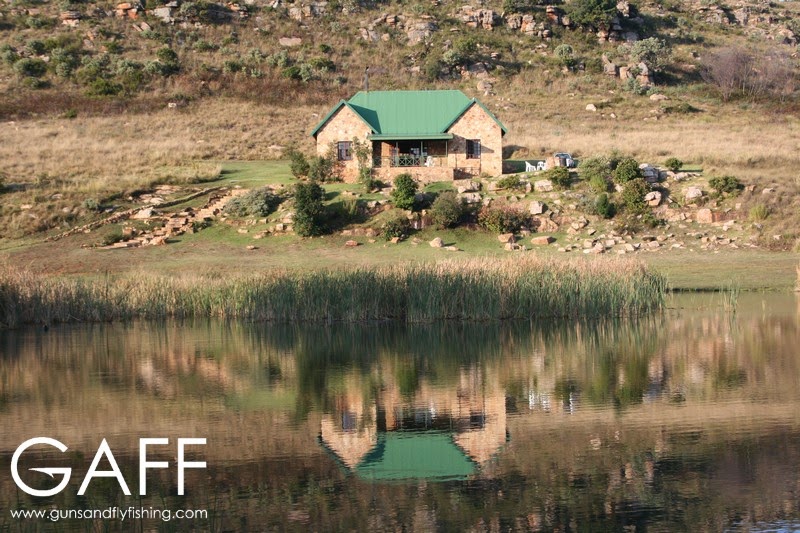
We stayed in The Nest, which is a cosy 2 sleeper en-suite unit with a lounge, dining and kitchen area. It has a fireplace for the colder months and a braai outside on the stoep with an amazing view of the mountains. The unit is very neat and tidy, and has everything there you (she) would need (microwave, stove,
kitchen utensils, fridge etc.) including towels and other requirements.

IMG_7574.jpg

There are five beautiful farm style units to choose from on the farm from a 2 sleeper to a 10 sleeper.
All of them have fireplaces and braai areas. You can also bring your DSTV smartcard should you wish to do so, as some of the units have DSTV decoders.

IMG_7436.jpg

Fishing
There are sizeable stillwaters on the farm (“Meike’s Mere” and “Matuka Dam”) and 4km of Witpoort river, all of which is host to both Rainbow and Brown trout. There is also a smaller dam/weir called “William’s Favourite” which is stocked with smaller Trout.

IMG_7521.jpg

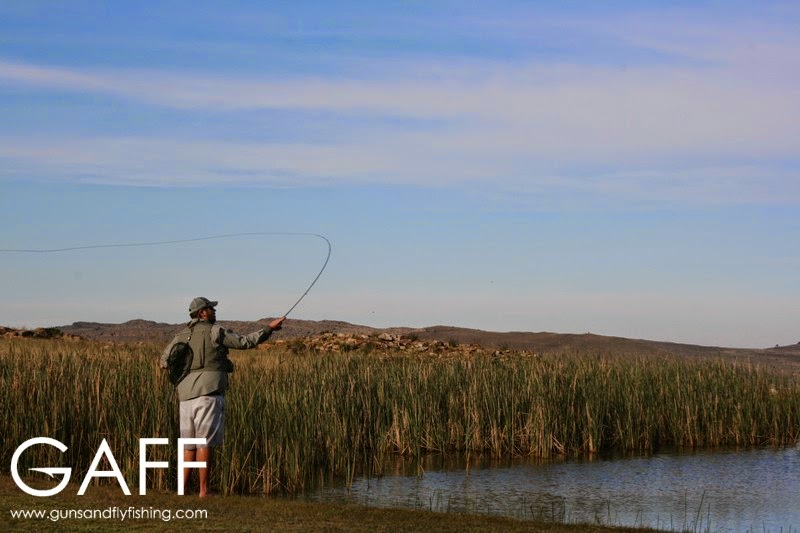
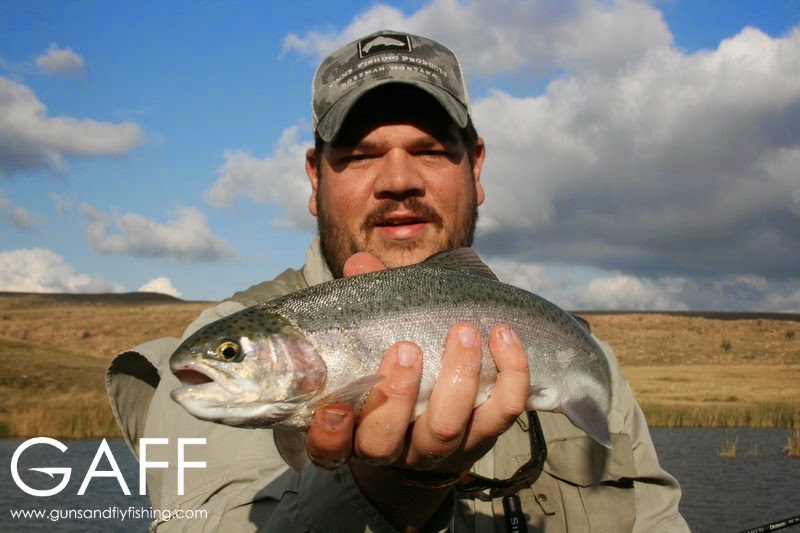
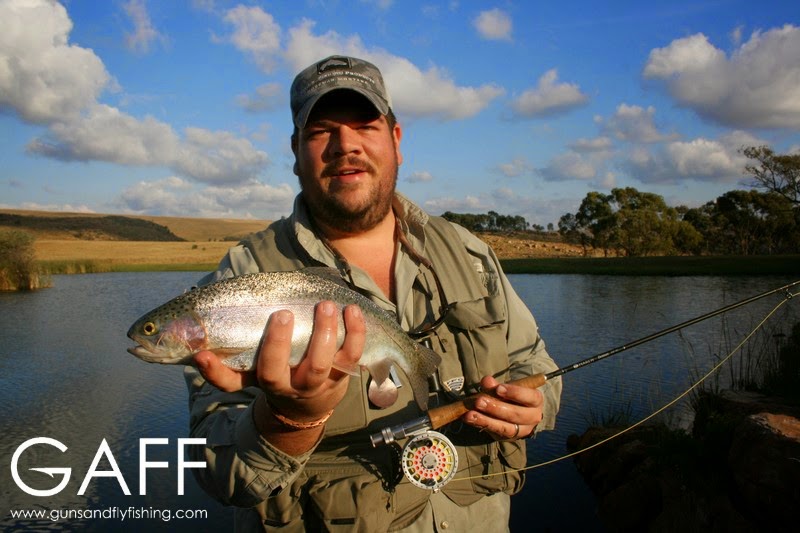
We headed out to Meike’s Mere on Saturday morning at about 07h00 with my 5wt and high expectations. With my first cast I was on… I casted a #8 Peacock Woolly Bugger just next to a reed bed, hoping for a cruising Trout to spot my fly, and I landed a nice Hen of 1.8kg. Soon after I caught another Rainbow of 800gr.

IMG_7533.jpg

It wasn’t 10 minutes and I was on again! This time I could see it was a monster… I played the fish for about 2 minutes, and whilst trying to steer it away from a weed bed, my 3X Rio tippet broke… I saw the fish a couple of times during the fight and estimated it at 2kg plus.

IMG_7546.jpg

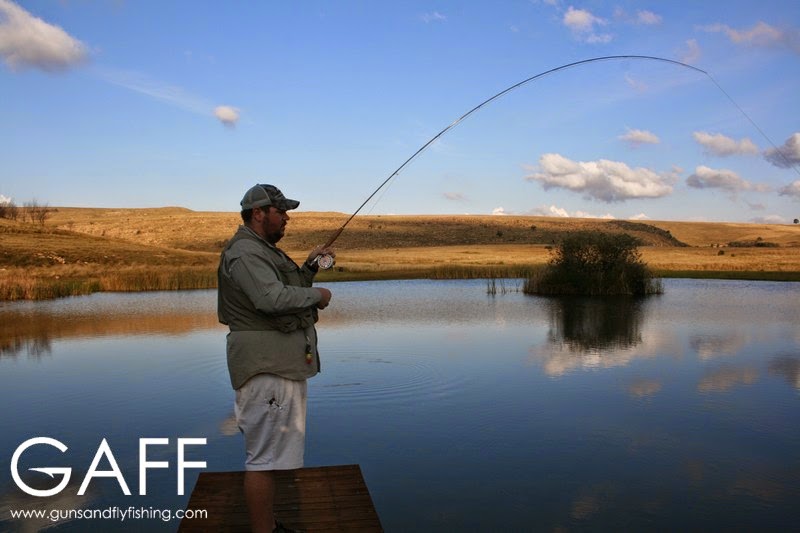
We returned to Meike’s Mere for an afternoon session after breaking for brunch and to explore the farm from about 10:00 to 15:00. I fished from a timber jetty for the remainder of the afternoon.

IMG_7564.jpg

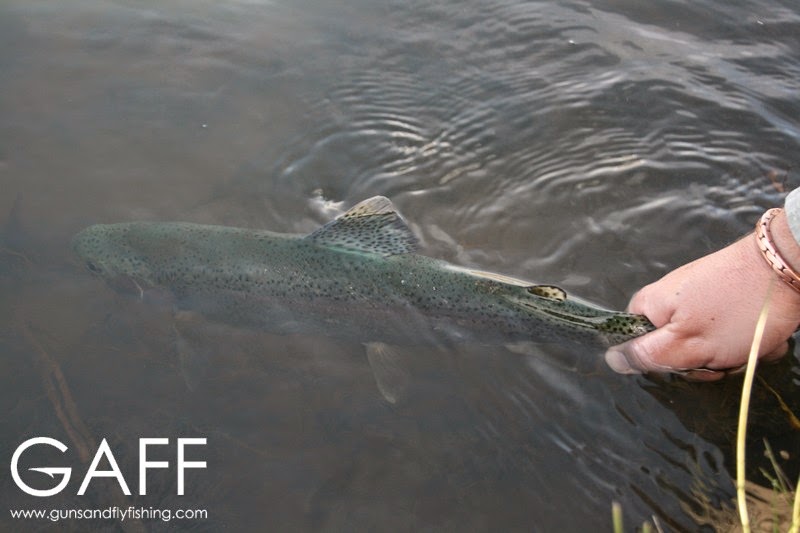
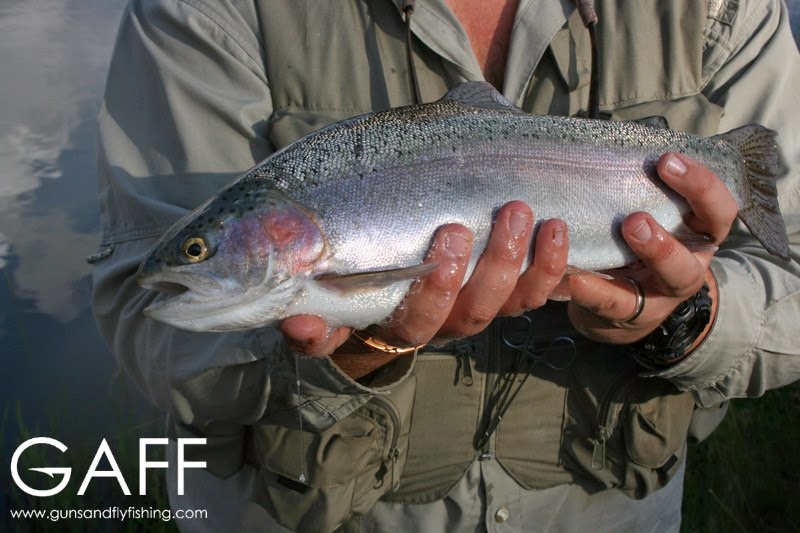
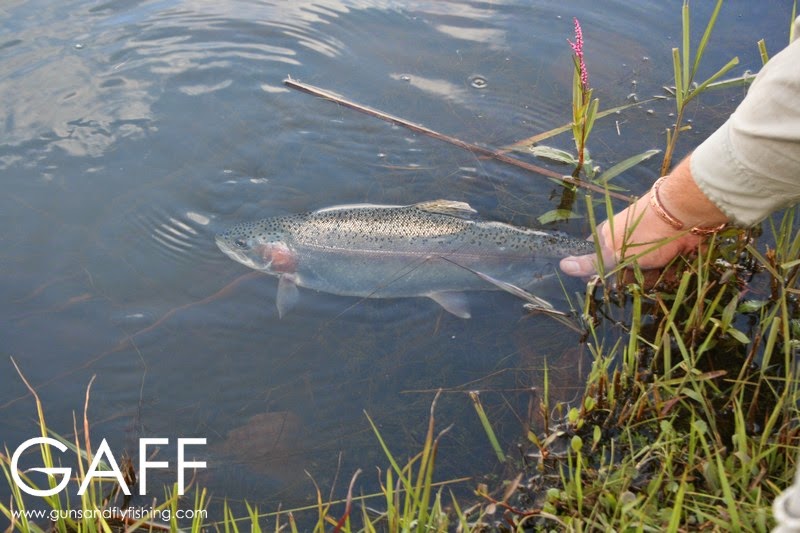
I lost a couple of big fish but I caught 5 quality fish between 900gr and 1.9kg. All the fish were in fantastic condition and they fought like crazy!

IMG_7576.jpg

They don’t feed the fish pellets, and I think that is the reason they put up such a fight, they hunt actively for their food and they are very opportunistic feeders. All the fish in the dam were caught on black and blue tinsel (Peacock) Woolly Buggers with a steady retrieve in various depths of water.

IMG_7599.jpg

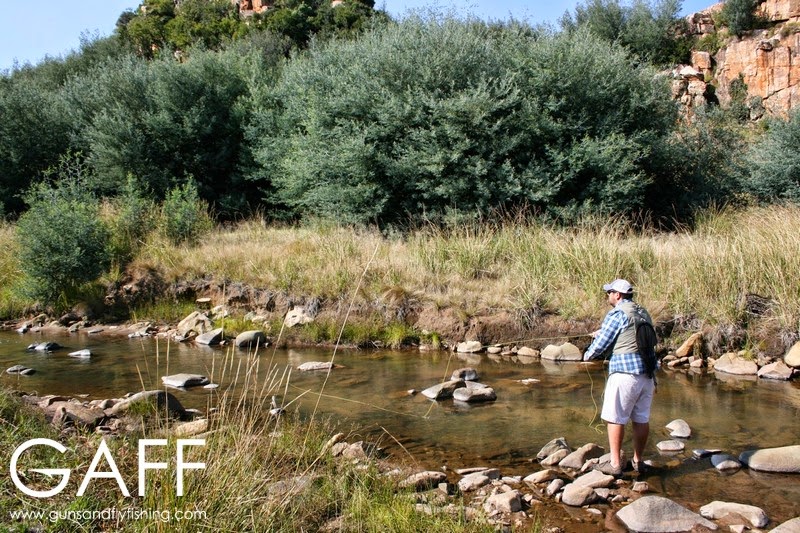
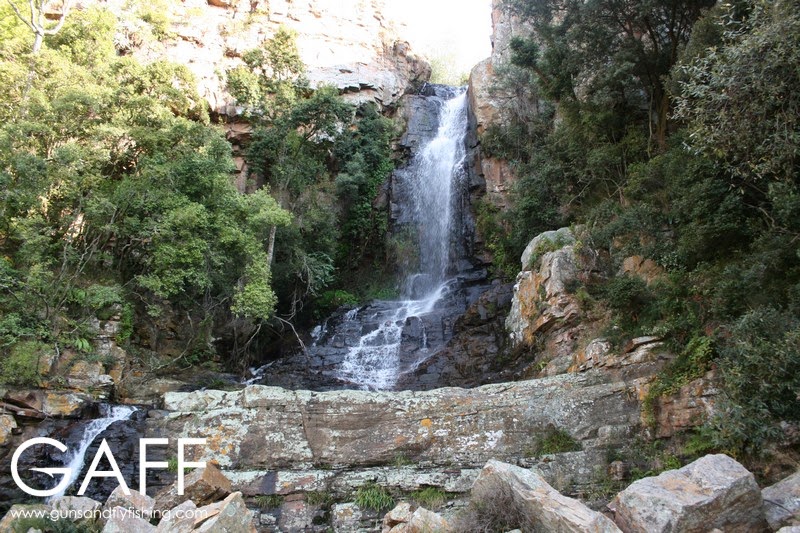
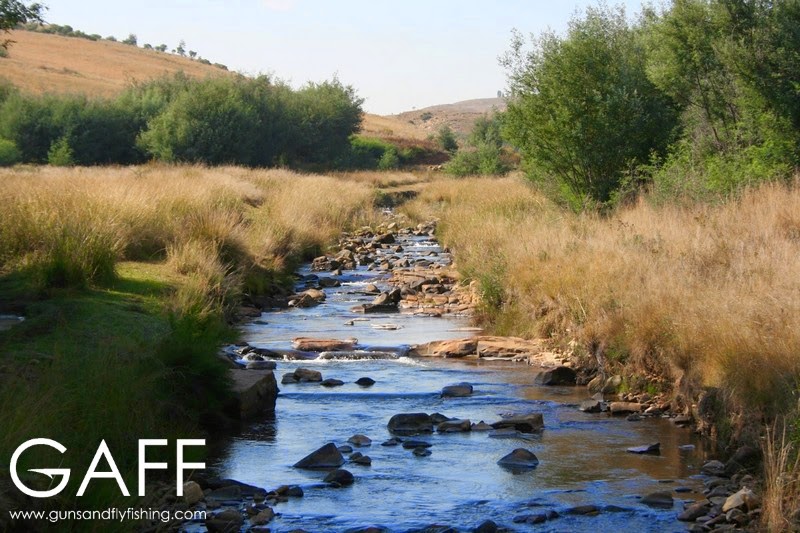
Sunday morning before our departure we decided to explore some of the 4km of Witpoort river that meanders through the farm. Upon our arrival after an approximate 4 km drive from our chalet, we saw a spectacular waterfall cascading over the rocks into a pool. The river was crystal clear and the water level was quite low.

IMG_7646.jpg

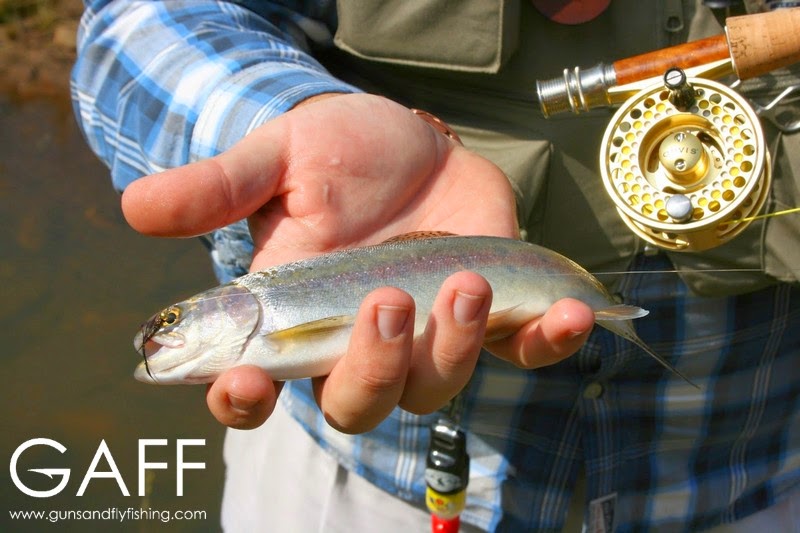
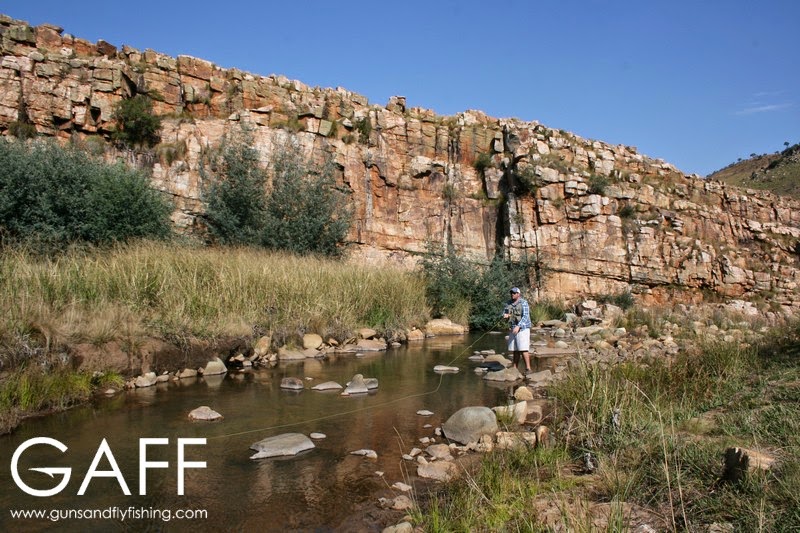
I tied a #14 Zak Nymph on a 6X tippet and cautiously approached a promising pool on a bend of the river. I made a cast with my 2wt Stealth Infinity and seconds after the fly hit the water a feisty little Rainbow took my fly and tore the Zak Nymph to shreds!

IMG_7679.jpg

Unfortunately we couldn’t spend much time on the river as we had to head back home, but I will surely return to spend a day or two stalking those wary little Witpoort Trout!

Conclusion
Field and Stream offers everything you would expect from a countryside venue to get away from the hustle and bustle of city life. There is no Vodacom reception and very limited MTN reception in certain places, so the office won’t be able to bother you there.

The farm road (about 2km long) from the main road is bad in places (due to the rain), and I would suggest going with an SUV or a bakkie, however there were people with sedans when we were there.

Field and Stream has a very relaxed atmosphere on a truly beautiful farm and it caters for the adventurous or for someone just in need of a quiet weekend away.

Recommended Equipment
5wt 9ft rod with a floating line for Stillwater fishing in Meike’s Mere.
5wt or even a 7wt 9ft rod with an intermediate line for the big trout in Matuka Dam.
2wt rod with a floating line for the Witpoort river.

Recommended Flies
Peacock Woolly Bugger, Papa Roach, San Juan worm, Midge patterns and DDD for the still waters.
Zak nymph, Hot Spot PTN, GRHE, RAB and Elk Hair Caddis for the river.

© 2013 Guns and Fly Fishing. All Rights Reserved.
Newer posts »

© 2026 Guns and Fly Fishing. All Rights Reserved.
Theme by Anders NorenModified by RooiWillie